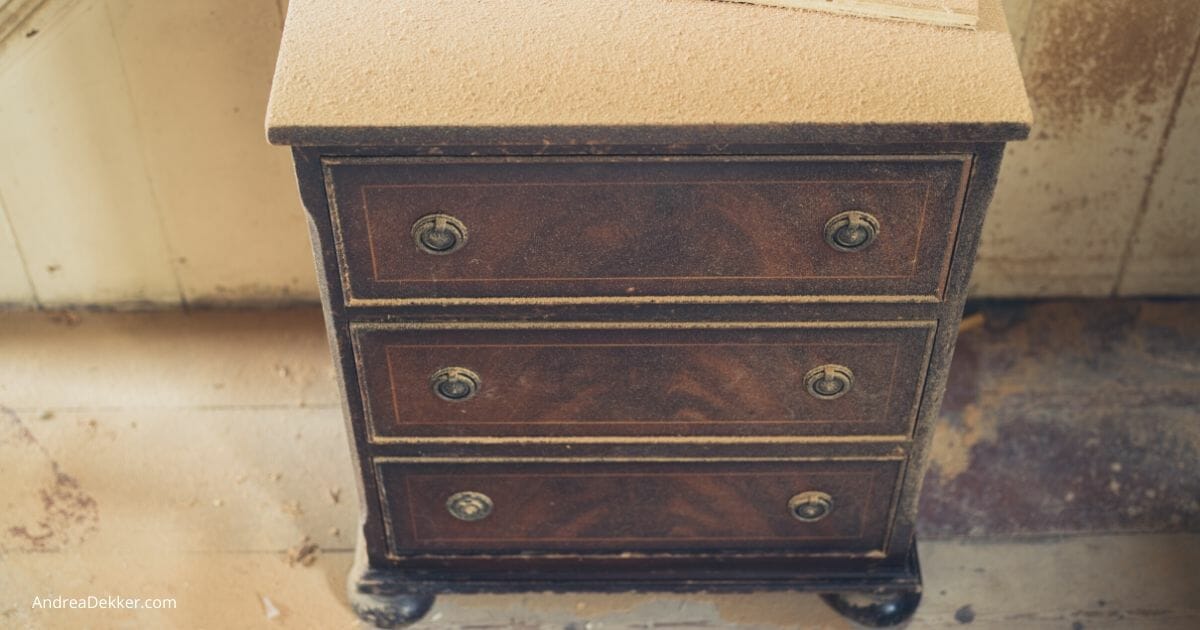
5 Essential Tools for Successful Furniture Restoration
Furniture restoration can be a rewarding endeavor, transforming worn-out pieces into stunning focal points for any room. To achieve success in this craft, having the right tools is crucial. Here are 5 essential tools that every furniture restoration enthusiast should have:
- Sandpaper: This is a fundamental tool for preparing your furniture surfaces. Various grits will allow you to remove old finishes and smooth rough areas, ensuring a flawless base for your restoration project.
- Paint Stripper: A good quality paint or finish remover will help you tackle even the toughest of coatings. This tool ensures that your furniture is ready for a fresh coat of paint or stain.
Continuing with our essential tools, consider these additional items to elevate your restoration efforts.
- Wood Glue: This is indispensable for repairing any joints or cracks, providing the necessary strength to ensure your furniture is stable and long-lasting.
- Paint Brushes: A selection of high-quality brushes in various sizes will help you achieve a professional finish, whether you’re applying paint, stain, or sealant.
- Protective Gear: Safety should always come first. Invest in gloves, goggles, and a mask to protect yourself from dust and harmful chemicals during the restoration process.
The Step-by-Step Guide to Transforming Old Furniture into Stunning Pieces
Transforming old furniture into stunning pieces can be a rewarding and environmentally friendly project. Start by assessing the condition of your furniture and identifying any repairs needed. Cleaning the surfaces thoroughly is crucial as it helps in removing dust and grime, making it easier for any new paint or stain to adhere. Once the furniture is clean, consider the style you wish to achieve. Will it be rustic, modern, or a mix of both? A well-thought-out design plan will guide your transformation process.
Next, gather the necessary materials such as sandpaper, paint, or fabric, depending on your chosen method of transformation. Step 1: Sand the surfaces to create a smooth finish. Step 2: Apply your chosen paint or stain, ensuring even coverage. Consider using a spray gun for a more professional finish. Step 3: If you're reupholstering, measure and cut fabric, then staple it securely to the seat or back. Lastly, Step 4: add any decorative elements such as new knobs, handles, or embellishments to complete your stunning piece of transformed furniture.
What to Know Before Starting Your Furniture Restoration Project
Starting a furniture restoration project can be an exciting journey, but there are several key factors to consider before diving in. First, assess the condition of the piece you want to restore; determine whether it is a valuable antique or merely a piece of decor. If it's valuable, you might want to consult with a professional before making any changes. Additionally, familiarize yourself with the necessary tools and materials you’ll need for the job. Investing in quality supplies can greatly enhance the longevity and appearance of your work.
Another crucial aspect to keep in mind is the design style you wish to achieve. Consider how the restored furniture will fit into your existing home decor. You might want to browse through magazines or online platforms for inspiration. It's also smart to develop a clear plan that outlines the steps of your restoration, whether that includes
- stripping old finishes,
- repairing broken parts,
- and applying new finishes.