10 Essential Tips for Lighting Your Photo Studio Like a Pro
Creating the perfect lighting setup in your photo studio is critical for achieving stunning images. Here are 10 essential tips to help you light your photo studio like a pro. First, consider the natural light available in your space. Utilize large windows or skylights to bring in soft, diffused light. However, remember to control it with light-diffusing curtains or reflectors to avoid harsh shadows. Next, invest in a solid set of studio lights, including key lights, fill lights, and back lights to create a professional quality look.
Another important tip is to employ the three-point lighting technique, which consists of a key light, fill light, and back light to provide depth and dimension to your subjects. Additionally, experiment with different light modifiers such as softboxes, umbrellas, and grids to refine your light quality. Don't forget to use color gels to match the ambiance of your shoot; this can enhance the overall mood and feel of your images. Lastly, always test and adjust your lighting setup before shooting—shooting a few test frames can save you time and ensure that your final images are perfectly lit.
How to Create Stunning Backdrops for Studio Photography
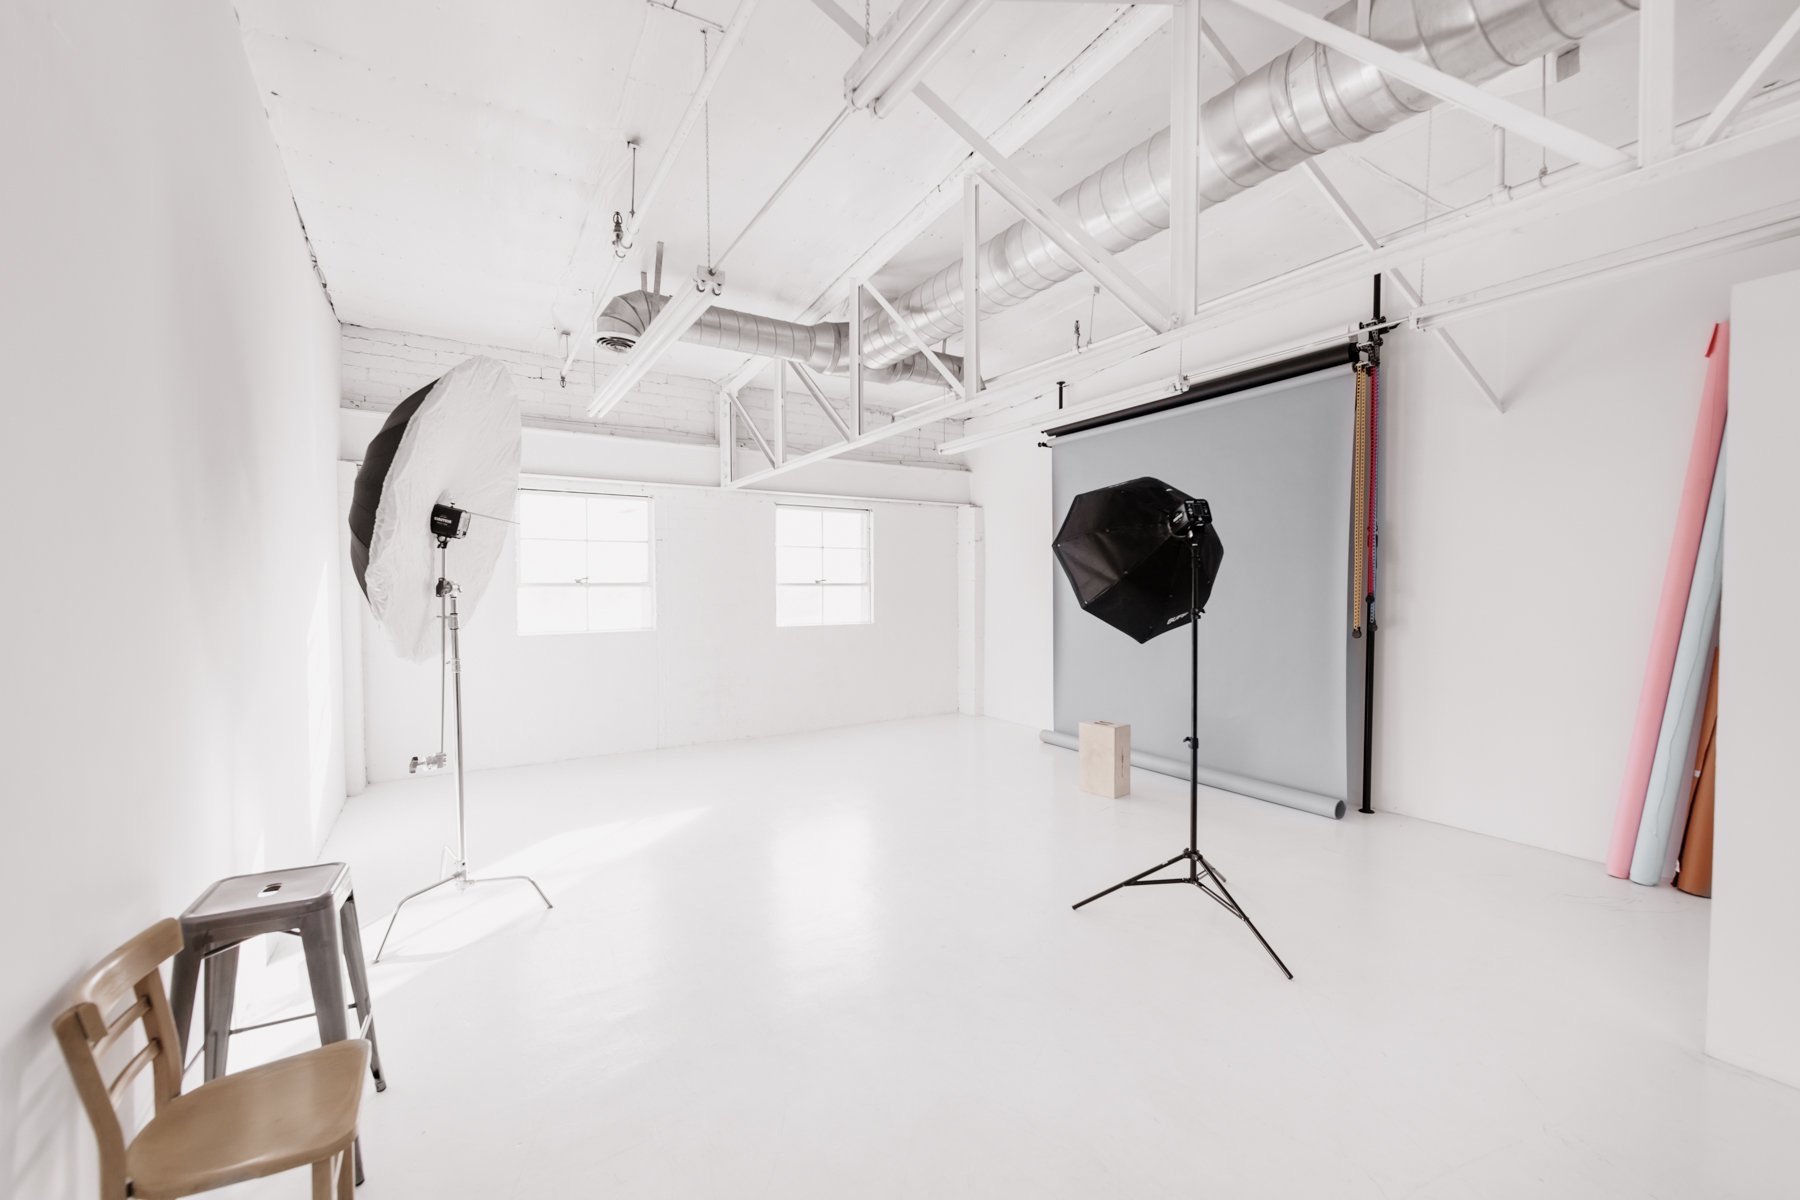
Creating stunning backdrops for studio photography is essential for producing captivating images that grab attention. The first step in this process is to select the right material for your backdrop. Popular choices include muslin, seamless paper, and canvas. Each material offers unique qualities that can enhance your photographs. For instance, muslin provides an organic texture, while seamless paper delivers a clean and uniform look. You may also want to consider fabric options with vibrant patterns or solid colors that complement your subject.
Once you've chosen your material, it’s time to think about lighting and how it interacts with the backdrop. Natural light can create soft shadows and a pleasing ambiance, while studio lights enable more controlled and dramatic effects. Experiment with backlighting techniques to add depth to your photographs, or use colored gels to create atmospheric tones. Don’t forget to consider the positioning of your subject in relation to the backdrop to achieve the desired composition and aesthetic impact.
What Equipment Do You Really Need for Capturing Studio Magic?
When capturing studio magic, the right equipment is essential to ensure your creative vision comes to life. At the core of your setup, camera quality is paramount; consider investing in a DSLR or mirrorless camera with a range of lenses tailored for different styles. Additionally, lighting equipment plays a crucial role in achieving professional results. Softboxes, LED panels, and reflectors can drastically change the mood and clarity of your shots. A solid tripod and a reliable remote shutter release will help minimize blur and stabilize your images, allowing you to focus fully on your creativity during the shoot.
No studio is complete without quality audio equipment, especially if your project will incorporate video or voiceovers. Invest in a good microphone and audio interface for crystal-clear sound. Furthermore, consider editing software to transform your captures into polished works of art. Whether you prefer Adobe Photoshop for photos or Adobe Premiere Pro for videos, having the right tools at your disposal can turn your studio magic into a reality. Lastly, don’t forget about backdrops and props; these elements can enhance the visual storytelling aspect of your projects and provide depth to your images.